JavaScript Project: A Simple To-Do List

Hi, I'm Dan, and I'm an aspiring front-end web developer! I love to make things with HTML, CSS, and JavaScript! I mostly write tutorials about what I have learned. Happy coding!
As a beginner, creating a simple to-do list with JavaScript can be a great way of bringing many of the new key concepts together. I created my first to-do list not so long ago; I can still remember how excited I was when it worked and the fresh motivation that it injected into my learning. Having recently taken a few weeks away from the computer, and so inevitably feeling a little rusty, it was to the trusty to-do list that I once again turned in order to freshen up. This article is a breakdown of my process.
Contents
- Design
- Markup (HTML)
- Styling (CSS)
- Functionality (JavaScript)
- Conclusion
1. Design
As the focus of this article is on the JavaScript side of the to-do list, the actual user interface will be kept relatively simple. It is assumed that the reader already has some experience with HTML and CSS, so you can spend as much or as little time as necessary on the to-do list markup (part 2) and styling (part 3) sections.
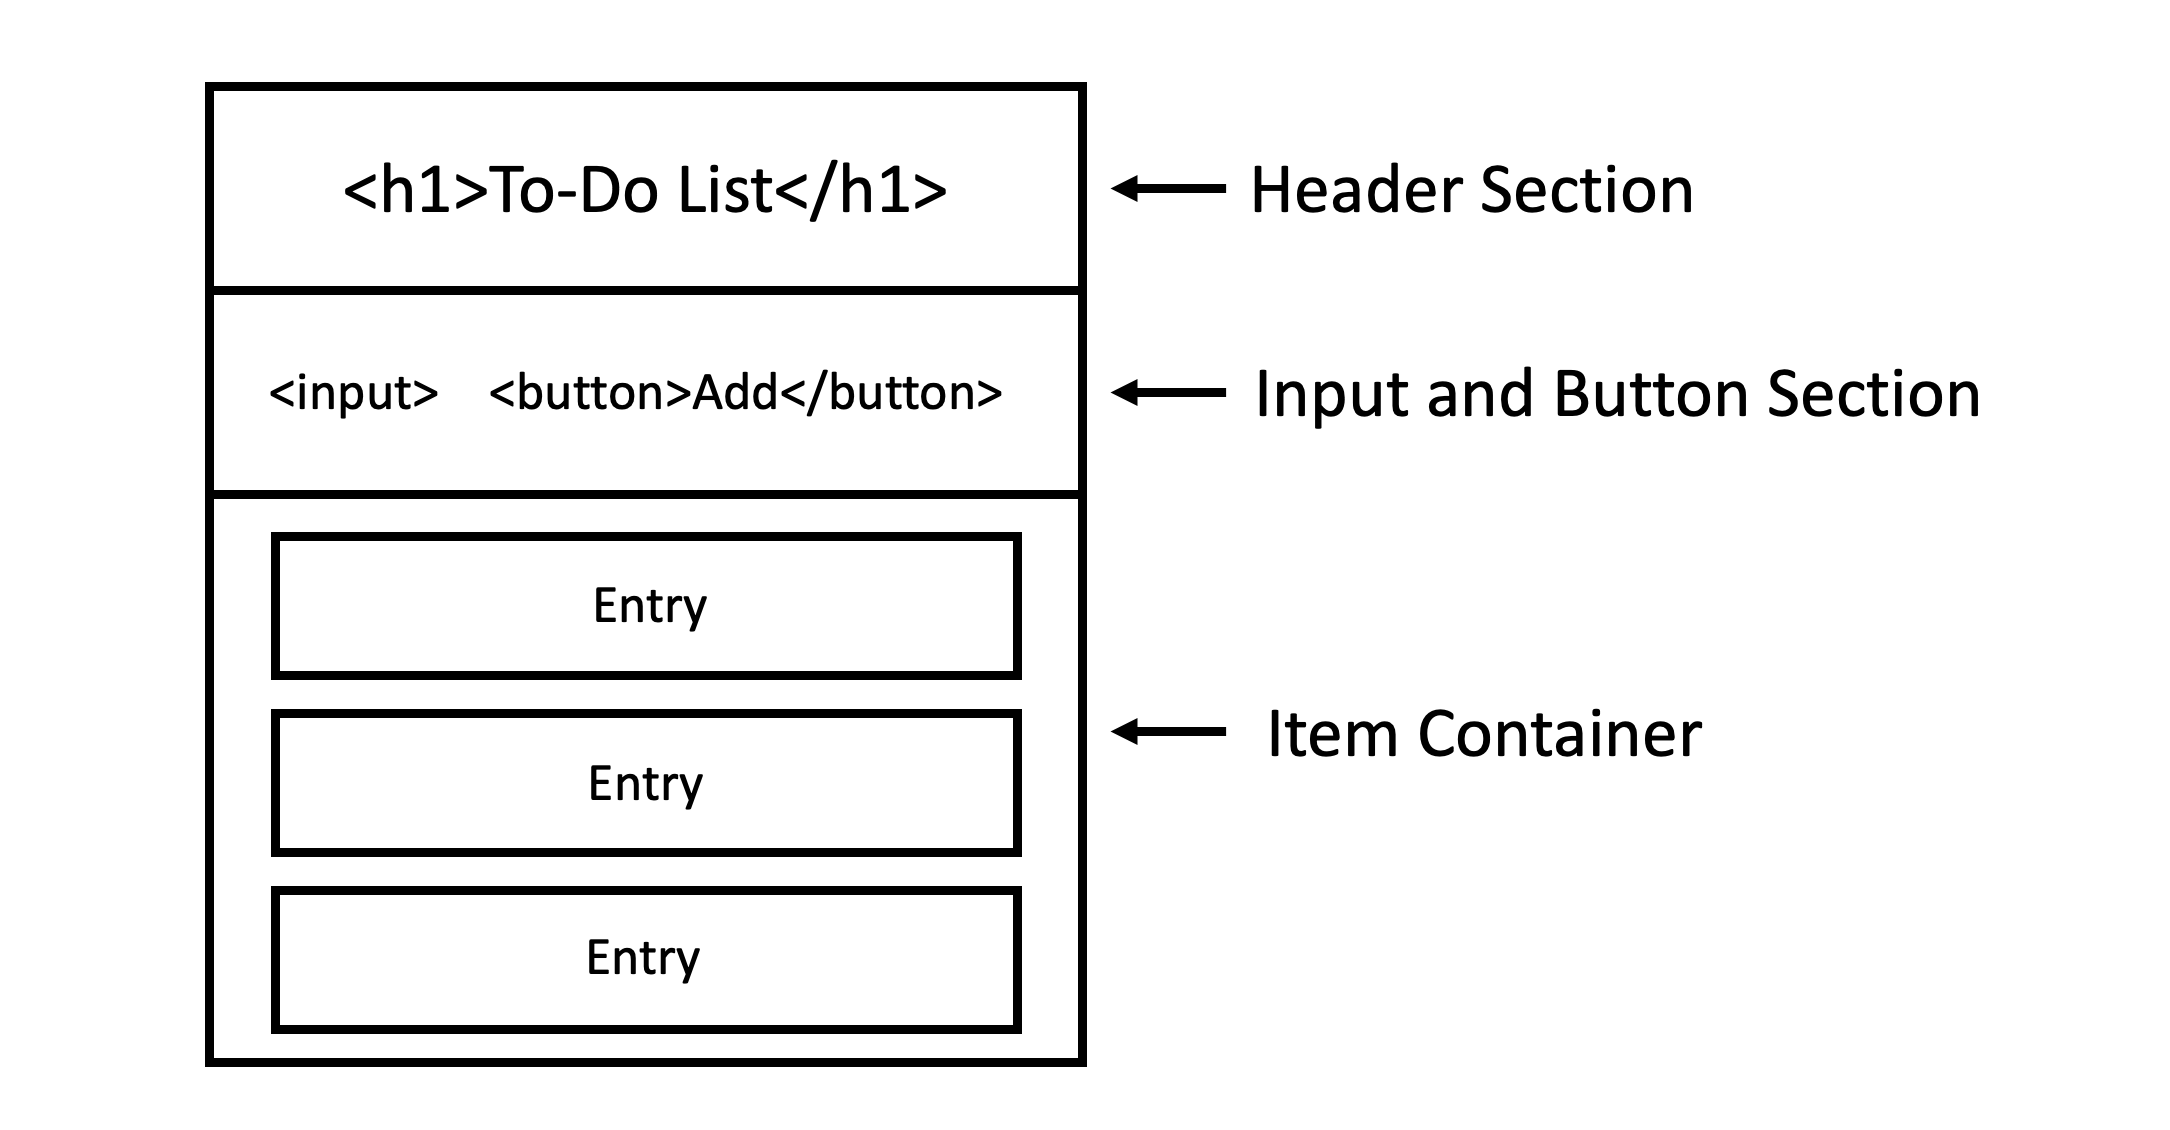
The to-do list will be broken into three main sections:
- Header Section: A
<h1>heading tag, which will read 'To-Do List'. - Input and Button Section: A text
<input>field in order to write new list entries, and a submit<button>in order to add it to the list. - Item Container: A
<div>container that will hold all of the entries in our to-do list.
*NOTE: For this simple project, there will be no option to check or remove our items. However, if you feel comfortable with the simple to-do list made here, you may wish to challenge yourself by adding a 'reorder' button, a 'check' button, and a 'delete' button. We will cover these next time.
2. Markup (HTML)
It's time to start coding our to-do list in HTML! First, let's make a <div> with a class of 'container'. This will hold all three sections of our to-do list.
<div class="container">

</div>
Within our 'container', we want three more sections, as outlined in our design. Let's create a <div> with the class of 'title', a <div> with the class of 'input', and a <div> with the class of 'to-dos':
<div class="container">
     <div class="title"></div>
     <div class="input"></div>
     <div class="to-dos"></div>
</div>
Now, let's work through each of the three sections. In the 'title' <div>, I am going to add a <h1> tag and call our app 'To-Do List'.
The 'input' <div> is going to hold two elements. The first is an <input>element with the type of 'text' (which will allow the user to type their to-do entry) and a placeholder of 'Write a to-do.' Let's also add a class of 'input-field' to the <input>.
The second element will be a <button> element. Let's add some text to the <button> by writing 'Add' between the <button> tags. I am also going to give the <button> a class of 'add-button'.
In the 'to-dos' <div>, I am going to add five <div> elements, all with a class of 'to-do-entry'. Each will represent a single entry in the to-do list, and so I will write something different between each <div> tag.
Initially, our to-do list will be empty. But in order to style our 'to-do-entry' elements easily, we will use the five <div> elements as a reference. We can delete them later!
Let's check our to-do list markup before moving on to styling:
<div class="container">
     <div class="title">
          <h1>To-Do List</h1>
     </div>
     <div class="input">
          <input class="input-field" type="text" placeholder="Write a to-do.">
          <button class="add-button">Add</button>
     </div>
     <div class="to-dos">
          <div class="to-do-entry">Go to the gym</div>
          <div class="to-do-entry">Clean the house</div>
          <div class="to-do-entry">Read a book</div>
          <div class="to-do-entry">Go for a walk</div>
          <div class="to-do-entry">Make a to-do list</div>
     </div>
</div>
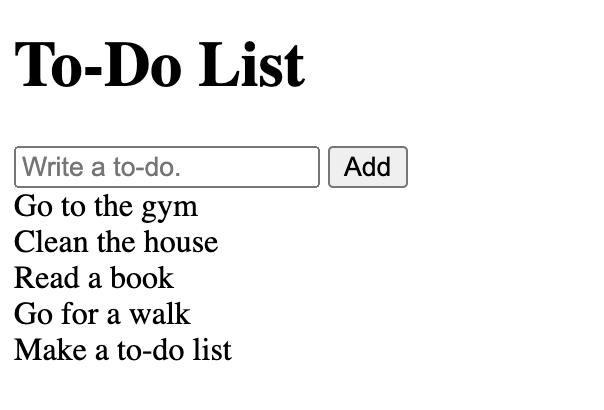
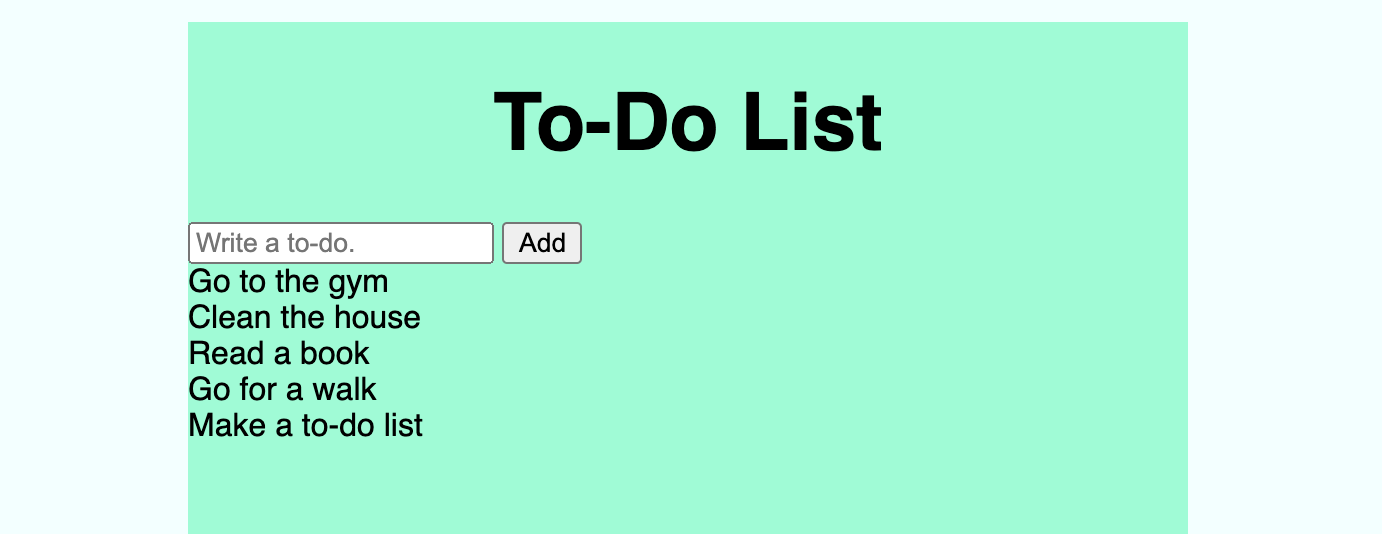
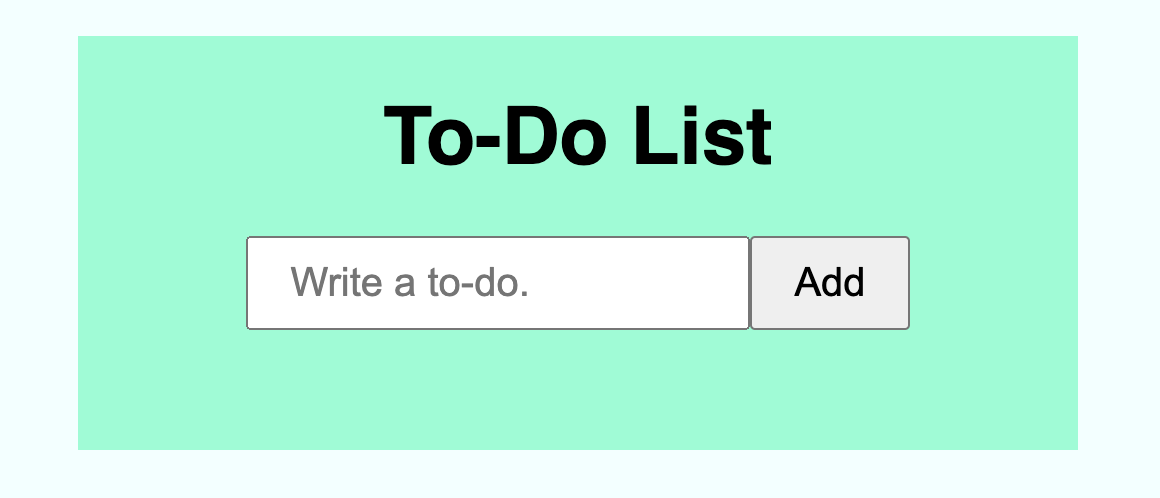
In the browser, your to-do list should look something like this:
3. Styling (CSS)
Now, let's quickly style our to-do list. As the focus of this article is on JavaScript, the CSS styling will be kept fairly simple, but feel free to style your own to-do list however you want.
I have decided to set the background-color of the body to azure, and the font-family to sans-serif.
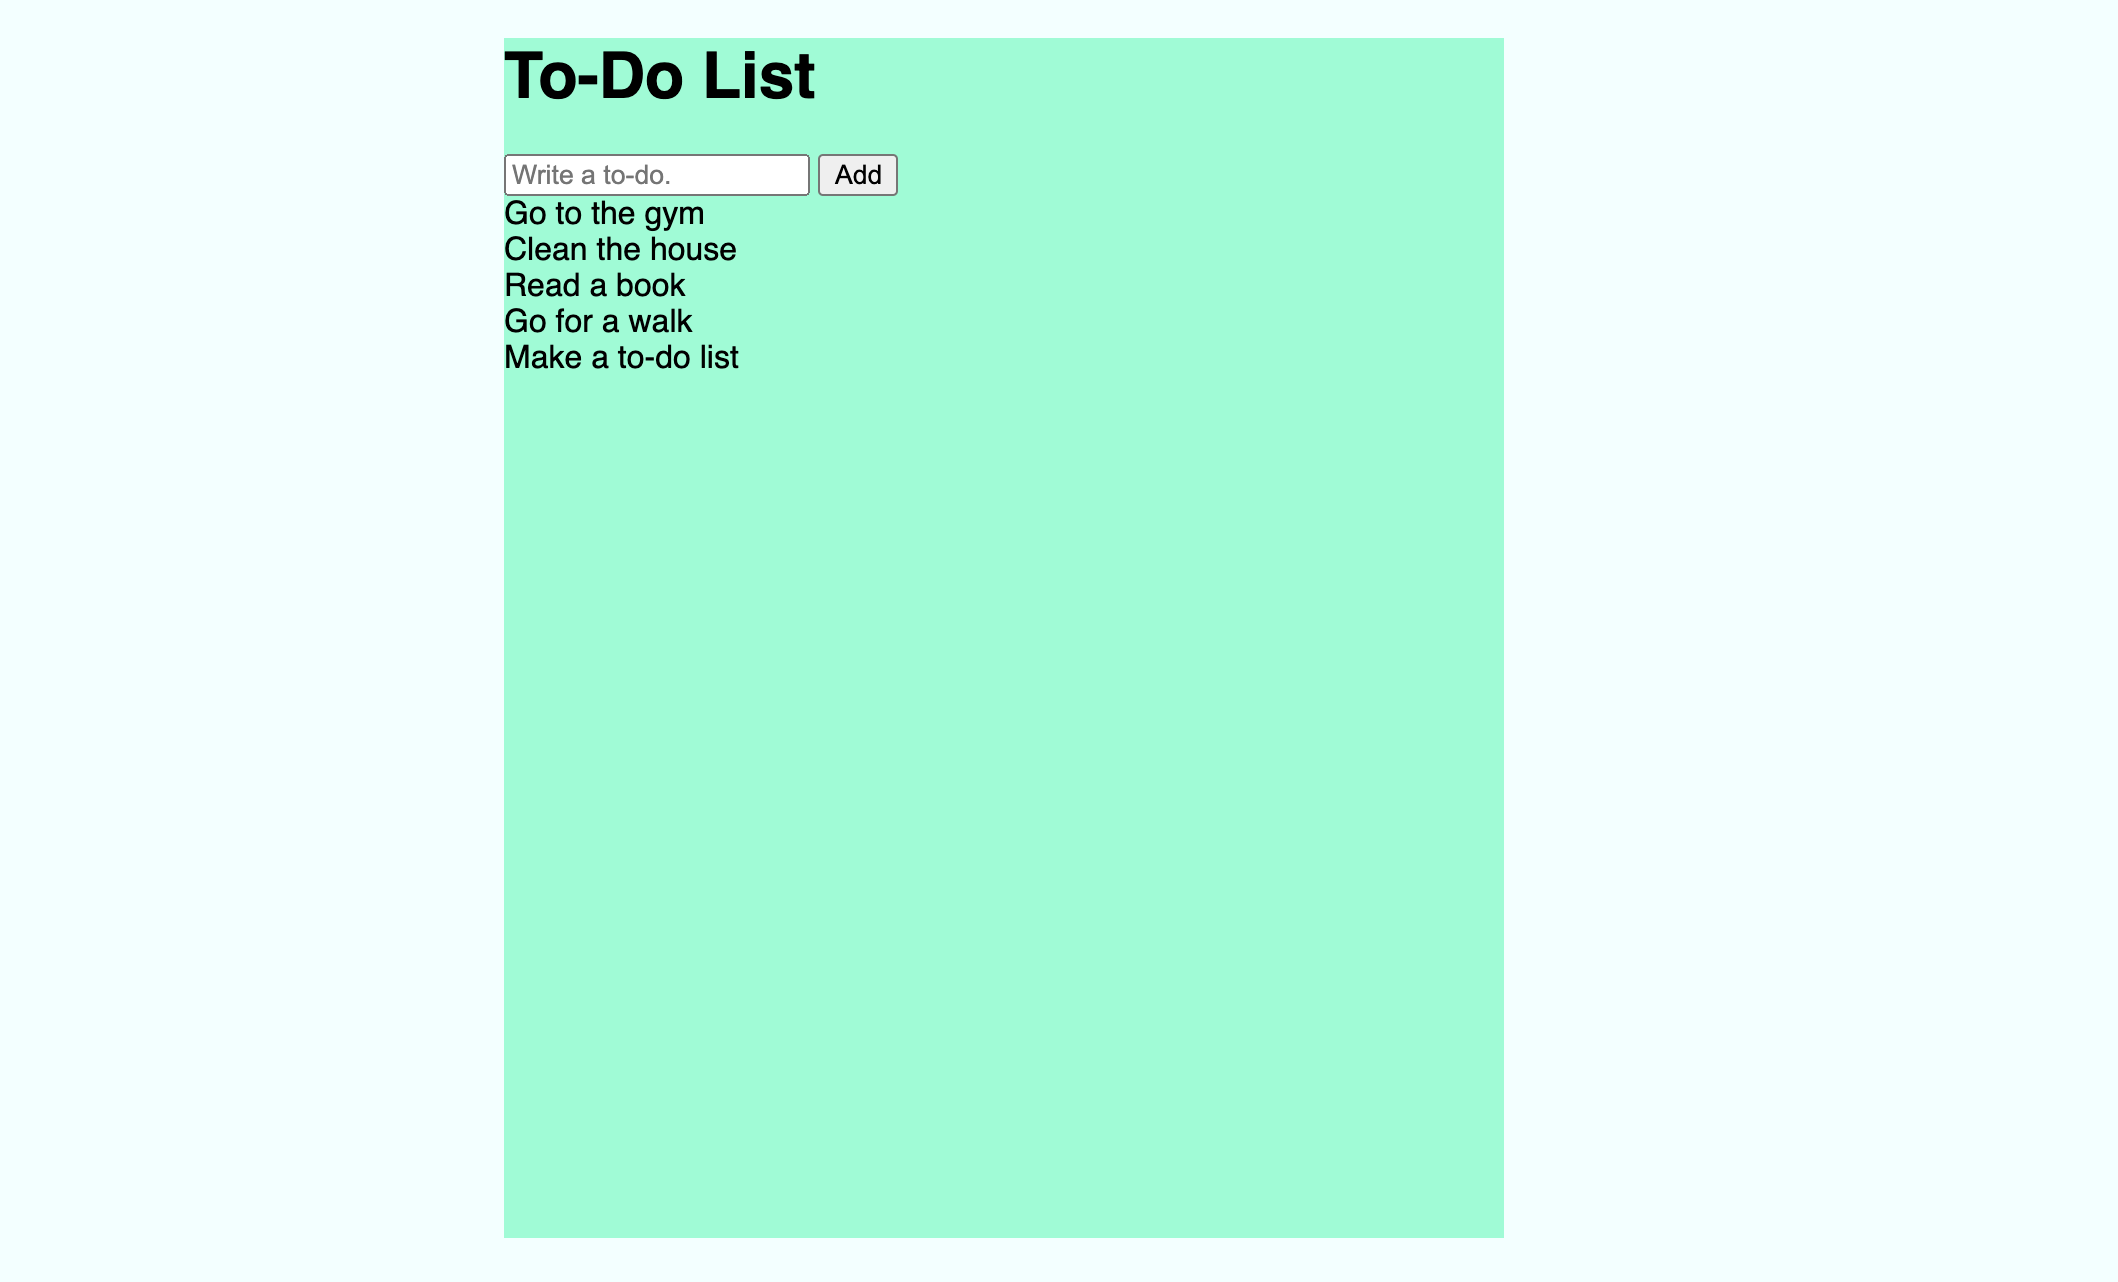
Let's target the to-do list, which we gave a class of 'container'. In order to target a class in CSS, don't forget to add a period (.) before the class name (so it will be, in this case, .container). The background-color of the to-do list will be aquamarine. It will have a width of 500px. For now, I'll give the to-do list a height of 600px, but I will remove this later, because I want the list to grow or shrink depending on the number of entries. Finally, let's add a margin of 50px auto to centre our to-do-list a little:
body {
     background-color: azure;
     font-family: sans-serif;
}

.container {
     background-color: aquamarine;
     width: 500px;
     height: 600px;
     margin: 50px auto;
}
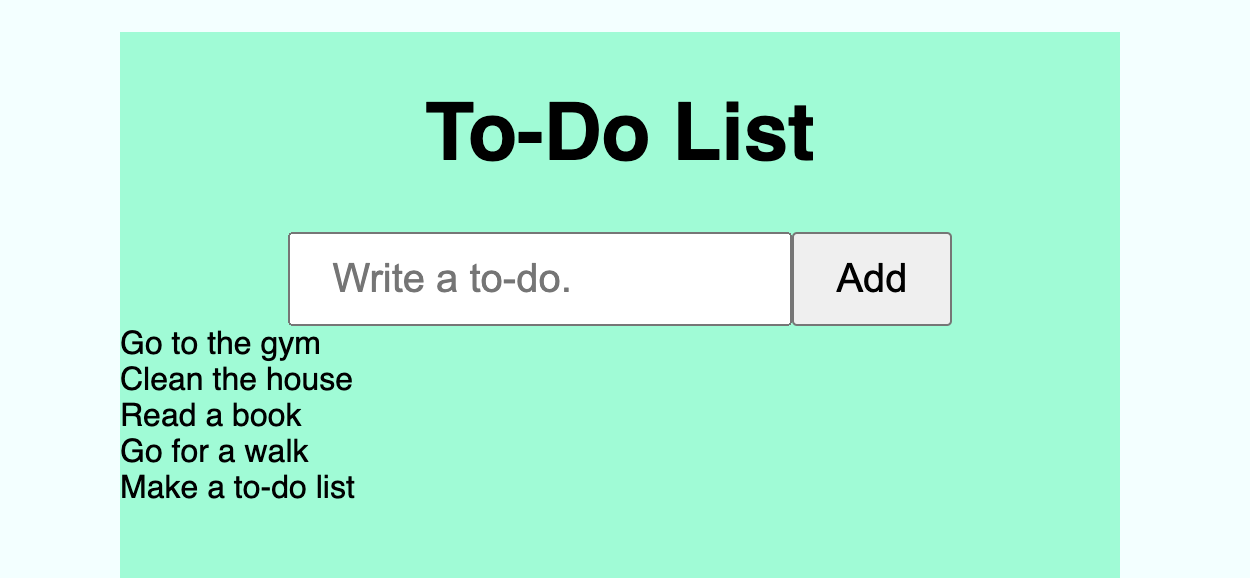
Your to-do list should look something like this:
The 'title' <div> element will be given a height of 100px. To centre the content (the <h1>) of this particular <div>, I am going to use flexbox. I will also increase the font-size of the <h1> to 40px:
.title {
     height: 100px;
     display: flex;
     justify-content: center;
     align-items: center;
}

.title h1 {
     font-size: 40px;
}
Now, let's style the 'input' <div>. Once again, I am going to use flexbox, but feel free to style it in any way you like. I am also going to increase the font-size of the <input> and <button> elements to 20px, and add some padding.
.input {
     display: flex;
     justify-content: center;
     align-items: center;
}

.input input {
     font-size: 20px;
     padding: 10px 20px;
}

.input button {
     font-size: 20px;
     padding: 10px 20px;
}
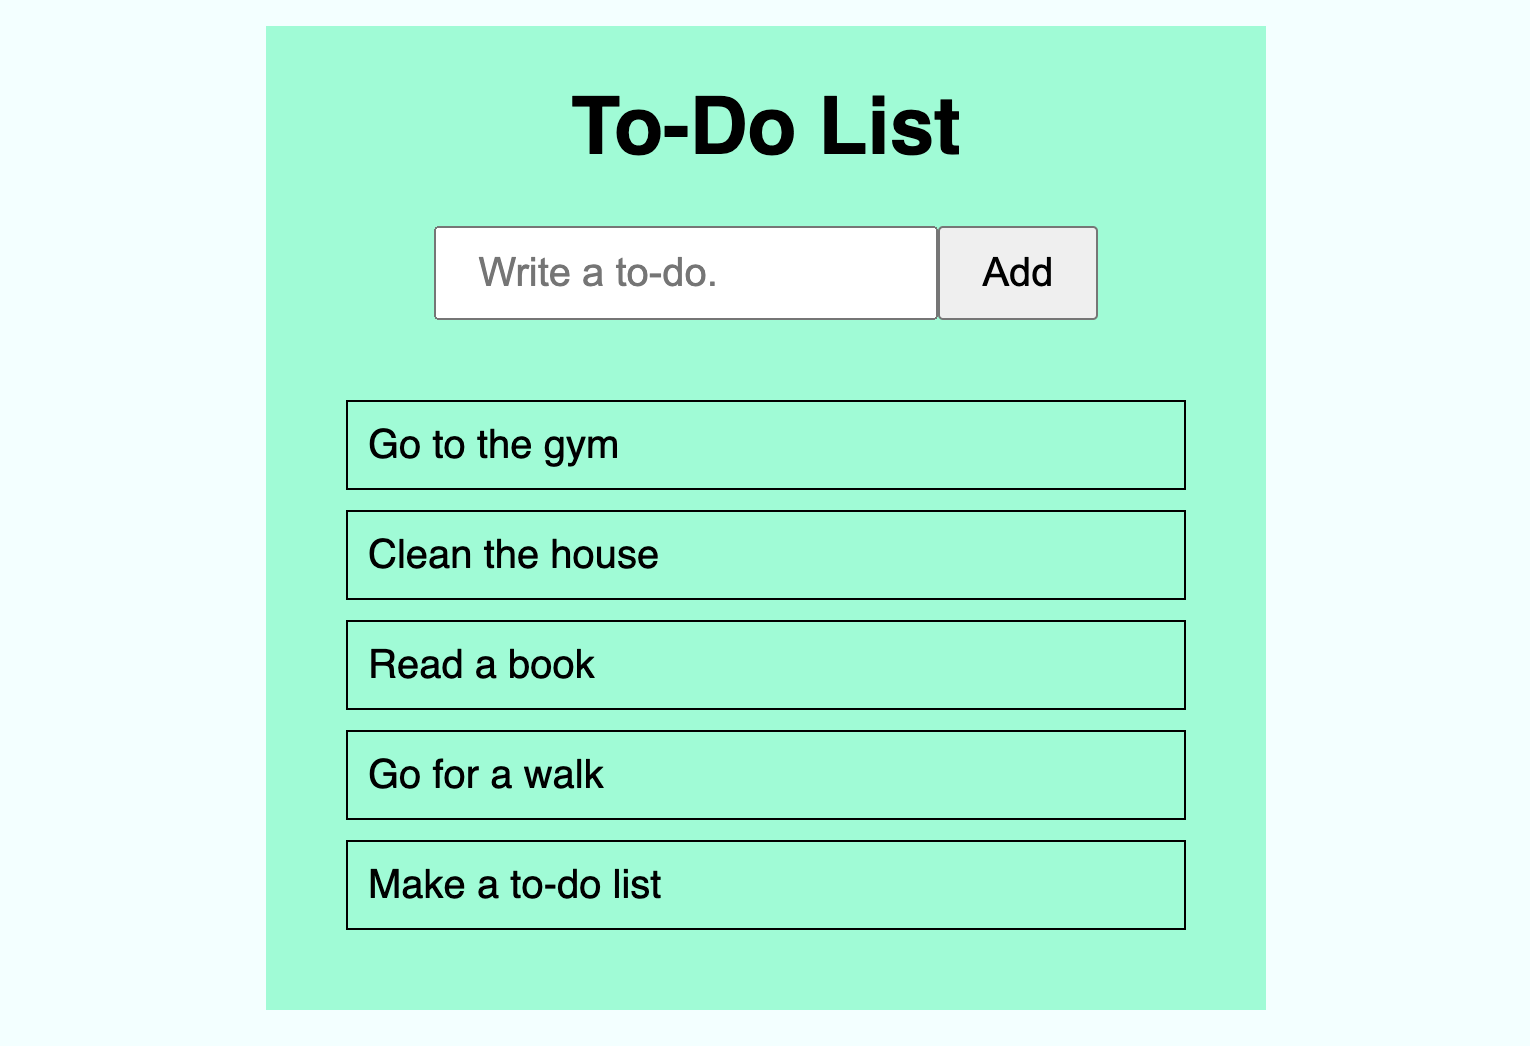
Finally, let's style the 'to-dos' <div> and all of the 'to-do-entry' <div> elements inside. I am going to add a padding of 30px to the 'to-dos' <div>.
For the 'to-do-entry' <div> elements, I am going to add a margin and padding of 10px. I will also change the font-size to 20px. For this example, I am going to add a border of 1px solid black so that we can see each entry more clearly.
.to-dos {
     padding: 30px;
}

.to-do-entry {
     margin: 10px;
     padding: 10px;
     font-size: 20px;
     border: 1px solid black;
}
It is now time to remove the height: 600px; styling from the 'container' <div>. This will allow the 'container' to grow or shrink as its content demands.
And, that's it! Our basic to-do list styling is done! We can now move on to adding functionality using JavaScript.

4. Functionality (JavaScript)
Our to-do list may look finished but, at the moment, it is nothing more than a static website. In other words, everything on the page is fixed, and can only be changed if we edit the HTML or CSS files directly, which is, of course, very impractical.
We want to turn our to-do list into a dynamic website in which users can interact and change the content in the browser. In this case, we want the user to be able to add their own to-do entries. In order to make our to-do list functional, we need to add our JavaScript, and this is where the fun begins!
Before we start, let us first think about what we want our to-do list to actually do. Breaking down the steps beforehand will make the coding process easier later:
- User types an entry into the
<input>field. - User clicks the 'Add'
<button>. - If the
<input>field is empty, nothing happens. - If the
<input>field contains something, a new 'to-do-entry'<div>is created and added to the 'to-dos'<div>.
a) Variables
For our to-do list to work, we will need to access a number of HTML elements. The first is the <input> field in which the user will type a new to-do entry. The second is the 'Add' <button> which will be clicked in order to add the new to-do entry to the list.
Let's start by making two JavaScript variables that target each of these elements. I am going to use a const variable, because the value of these particular variables will never need to change. I will call the <input> field variable userInput and the button variable addButton.
One way of targeting a HTML element is to use the .querySelector() method on the HTML document. Within the parentheses, we will need to use single (') or double (") quotation marks. The .querySelector() method accepts both CSS classes and IDs, and so it is necessary (just like in CSS) to add a period (.) for classes or a hashtag (#) for IDs.
So, I would like the userInput variable to target the <input> element with the class of .input-field, and the addButton variable to target the <button> with the class of .add-button:
const userInput = document.querySelector('.input-field');
const addButton = document.querySelector('.add-button');
b) Event Listeners
Now that we have our variables, it is time to add some event listeners. The .addEventListener() method calls a function whenever a particular event (such as clicking the mouse or pressing a key) occurs to the target.
Let's start by adding the .addEventListener() method to our <button>. We already have our <button> stored as a value in our addButton variable:
addButton.addEventListener();
For our event listener to work, we need to add an event and a function. We type these inside the parentheses. The event for our <button> will be a click. Don't forget to write this in single (') or double (") quotation marks, followed by a comma. And we will create a function called addToDo:
addButton.addEventListener('click', addToDo);
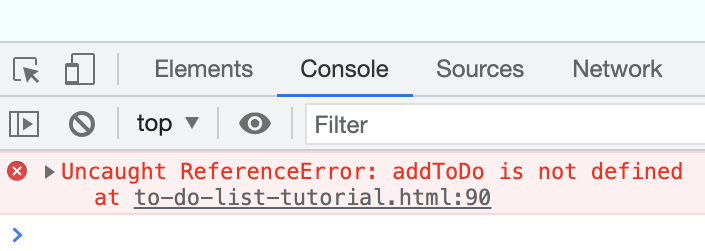
In other words, when there is a click on our <button>, our addToDo function will run. As we've not yet created our addToDo function, an error will run in the console, warning us that the function called addToDo is not defined. In other words, it does not yet exist:
So, let's next make our function...
c) Functions
To make a function in JavaScript, we must use the function keyword, followed by the name of our function. We have already decided to call our function addToDo. We must then include parentheses and curly brackets ({}), which will contain the code to be executed:
function addToDo() {
     // Function code will go here.
}
Before we write the code for our function, let us quickly recap. We currently have a <button> element in our HTML document, which we have put into a JavaScript variable called addButton. Thanks to the event listener that we added to our button, when we click on it, it will run our addToDo function.
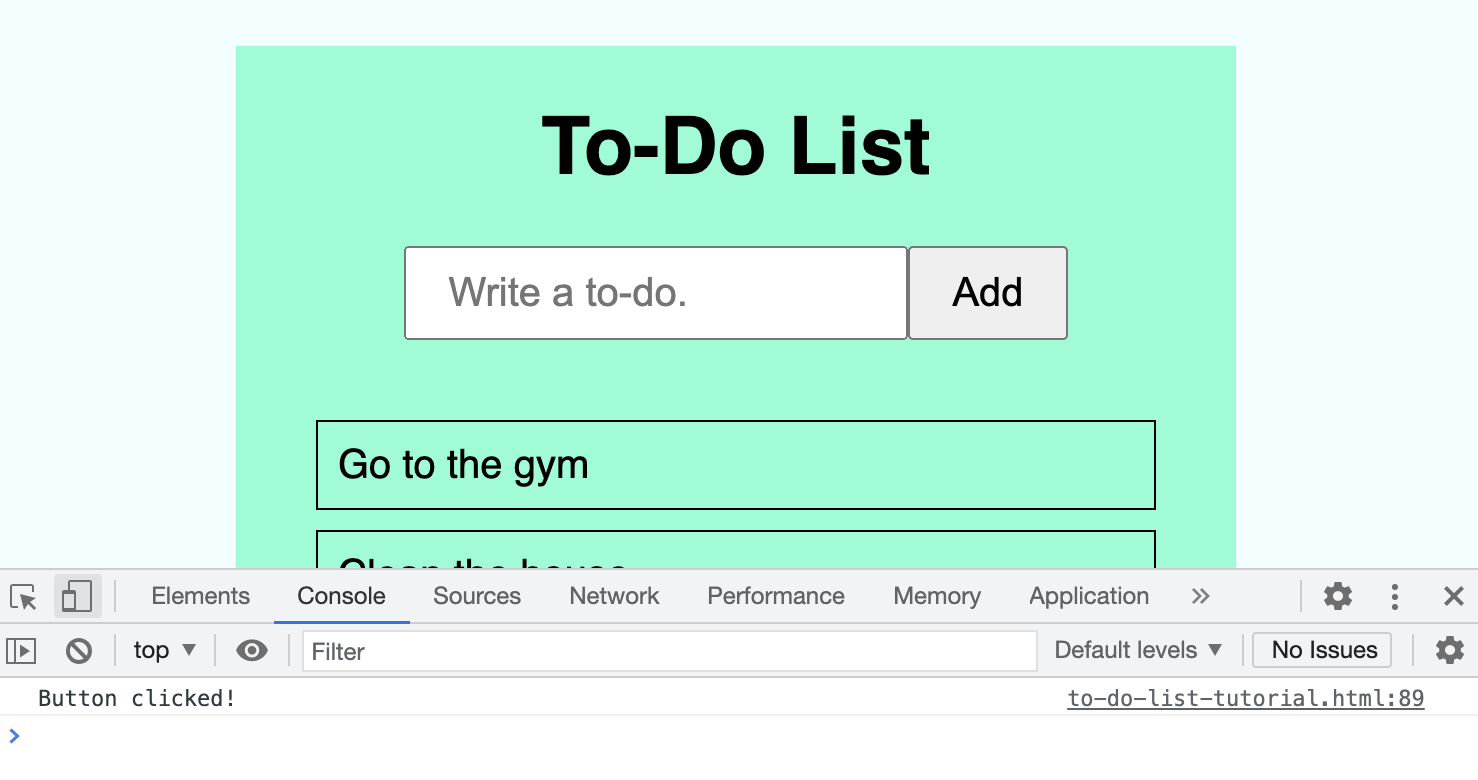
Let's add console.log('Button clicked!'); to our addToDo function. Now, every time we click on the button, the console will log 'Button clicked!' To open the console, right click and select 'inspect', then navigate to 'console'.
function addToDo() {
     console.log('Button clicked!');
}
Great! Our button works!
But, of course, we do not want to log 'Button clicked!' to the console every time the user clicks the button. For now, let's change our console.log() slightly. Let us instead log to the console whatever the user types into the <input> element. We have already created a variable called userInput for our <input> element. We can access whatever the user types into an <input> element by using the .value property. Let's log this to the console instead:
function addToDo() {
     console.log(userInput.value);
}
Now, when we type something into the <input> field and click on our 'Add' button, we can see the exact text returned to us in the console.
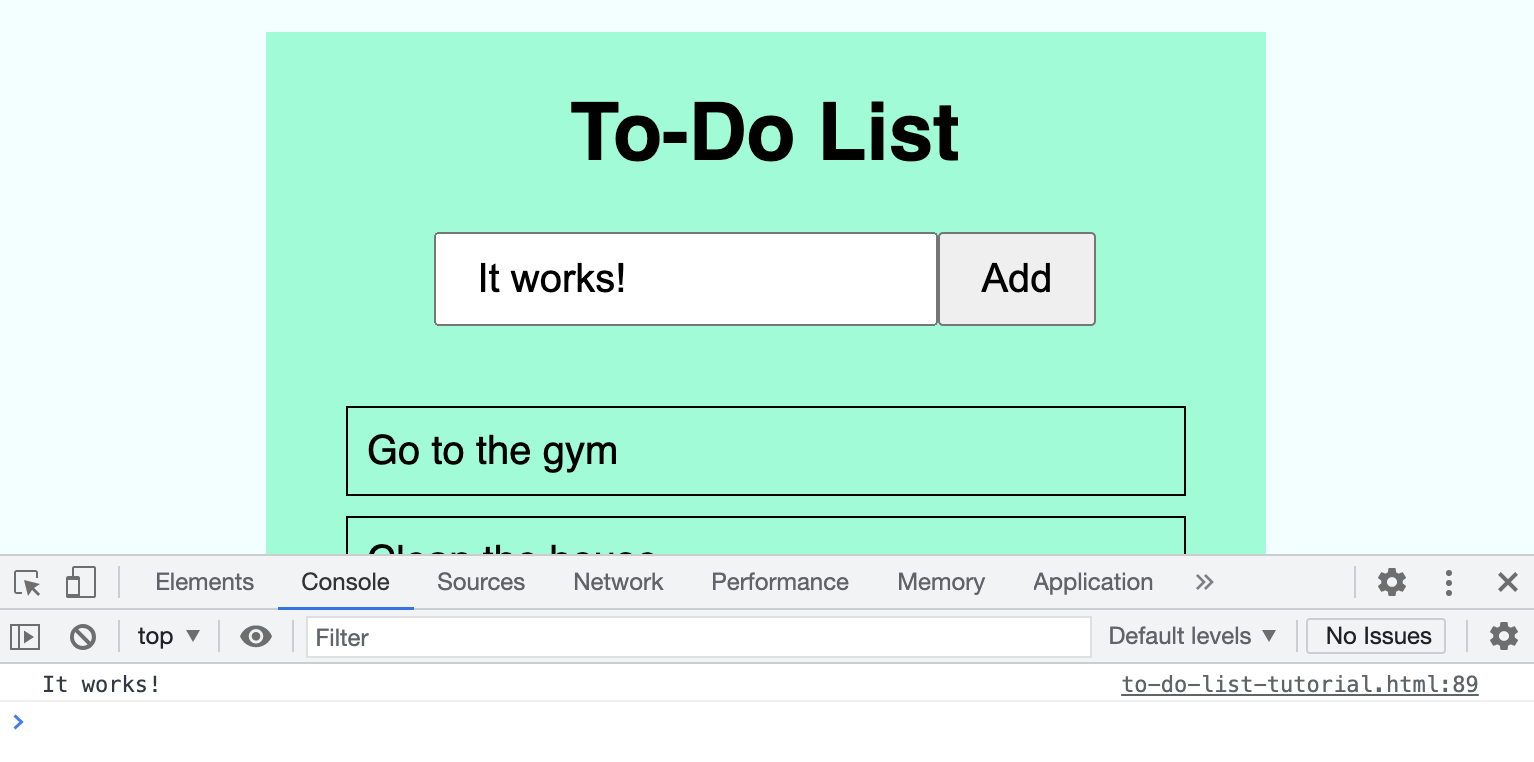
Let's also clear the <input> field once we click the 'Add' button. We can do this by setting the userInput.value to an empty string, represented by single (') or double (") quotation marks:
function addToDo() {
     console.log(userInput.value);
     userInput.value = '';
}
The basic functionality of our to-do list now works. But in order for it to work properly, we need to create a new element - a 'to-do-entry' box, in the form of a <div> - and set its text content to the userInput.value.
d) Creating New Elements
Before we start creating our new elements, we need to think about where we are going to store them. We will store all of our 'to-do-entry' <div> elements in the <div> with the class of 'to-dos'. So, let's create another variable so that we can target the to-dos <div>. I am going to call this variable todoDiv:
function addToDo() {
     console.log(userInput.value);
     userInput.value = '';

     const todoDiv = document.querySelector('.to-dos');
}
Let's now make our new element! We can create a new element by using the .createElement() method on the HTML document, just like this:
document.createElement('div');
In this example, we have created a new <div> element. Don't forget to wrap the new element in single (') or double (") quotation marks!
As we will have to target this new element in order to add classes, for example, we need to store it in a variable. So, I will make a variable called newEntry:
function addToDo() {
     console.log(userInput.value);
     userInput.value = '';

     const todoDiv = document.querySelector('.to-dos');
     const newEntry = document.createElement('div');
}
Great! We have made our two new variables. In order to style our new <div>, we need to add the class of .to-do-entry to it. We can do this by using the .classList.add() method on our newly-created element, which is stored in the newEntry variable:
function addToDo() {
     console.log(userInput.value);
     userInput.value = '';

     const todoDiv = document.querySelector('.to-dos');
     const newEntry = document.createElement('div');

     newEntry.classList.add('to-do-entry');
}
Finally, we need to specify where we would like to place our new <div> element. For this, we can use the .appendChild() method on our todoDiv:
function addToDo() {
     console.log(userInput.value);
     userInput.value = '';

     const todoDiv = document.querySelector('.to-dos');
     const newEntry = document.createElement('div');

     newEntry.classList.add('to-do-entry');
     todoDiv.appendChild(newEntry);
}
At this point, we have almost finished our to-do list. However, as we have not yet specified in the addToDo function that the new <div> will hold text content, we can only add empty boxes to our list when we click the Add button:
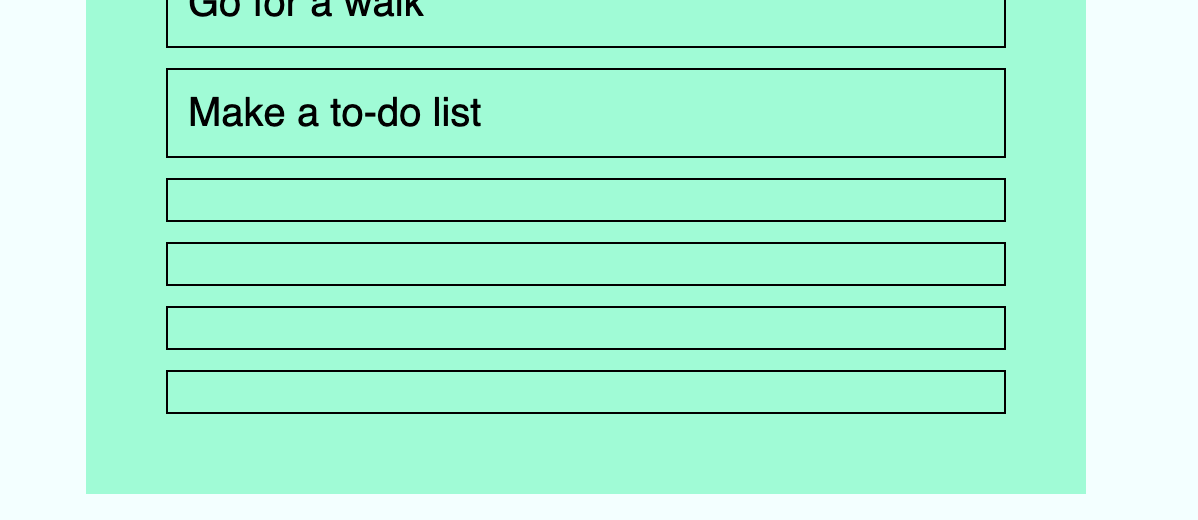
We can add the text content of our <input> field by using the userInput.value property that we saw earlier. Let's use the textContent property on our newEntry element, and set it equal to the userInput.value:
function addToDo() {
     console.log(userInput.value);
     userInput.value = '';

     const todoDiv = document.querySelector('.to-dos');
     const newEntry = document.createElement('div');

     newEntry.classList.add('to-do-entry');
     todoDiv.appendChild(newEntry);
     newEntry.textContent = userInput.value;
}
We still have one slight problem - the new elements are still created with no text. The reason for this is that JavaScript is executing our function statements in order from top to bottom and, near the top of our function, we still have our statement to clear the <input> value: userInput.value = '';. This means that by the time we come to assign the userInput.value as textContent to our newEntry, the userInput.value has already been cleared. So, let's move the userInput.value = ''; statement to the bottom of our function, just like this:
function addToDo() {
     console.log(userInput.value);

     const todoDiv = document.querySelector('.to-dos');
     const newEntry = document.createElement('div');

     newEntry.classList.add('to-do-entry');
     todoDiv.appendChild(newEntry);
     newEntry.textContent = userInput.value;

     userInput.value = '';
}
Before we wrap up, let's return to our HTML document and remove the five <div> elements with the class of 'to-do-entry' that we used as a reference when styling. Our to-do list now looks like this:
e) Adding a Conditional Statement
Let's add one final feature to our to-do list. At the moment, our to-do list works perfectly fine, but it is still possible to create an empty box if the user clicks the 'Add' button when the <input> field is empty.
In our initial design, we decided that if the <input> field is empty, nothing happens. So, let's add an if/else conditional statement to our addTodo function. Here is the format for a basic if/else statement:
if (/* Write a condition here */) {
     /* If the condition is met, execute this code */
} else {
     /* Otherwise, execute this code */
}
Our condition will be: if the userInput.value is NOT empty, create a new element. For this purpose, we can use the strict inequality operator (!==). So, our if/else statement may look something like this:
if (userInput.value !== '') {
     /* Create a new element */
} else {
     console.log('Sorry, the input field is empty!');
}
Now, we can simply copy our original function statements across, like this:
function addToDo() {
     if (userInput.value !== '') {
          console.log(userInput.value);

          const todoDiv = document.querySelector('.to-dos');
          const newEntry = document.createElement('div');

          newEntry.classList.add('to-do-entry');
          todoDiv.appendChild(newEntry);
          newEntry.textContent = userInput.value;

          userInput.value = '';
     } else {
          console.log('Sorry, the input field is empty!');
     }
}
5. Conclusion
Congratulations! You have successfully created a JavaScript to-do list!
This article has covered a great many JavaScript concepts in one go. You have:
- Created JavaScript variables.
- Targeted HTML elements using the
.querySelector()method. - Created a JavaScript function.
- Added an if/else statement.
- Used the
.valueproperty on an<input>field. - Created a new element using the
.createElement()method. - Added classes using
.classList.add()method. - Attached elements to other elements using the
.appendChild()method. - Used the
.textContentproperty.
Great work! If you are still unsure about any of the concepts listed here, or would simply like to read more, I recommend consulting MDN Web Docs (https://developer.mozilla.org/en-US/) or W3Schools (https://www.w3schools.com/js/).
Next time, let's upgrade our to-do list by including a 'Reorder' button to toggle the order of the list, as well as a 'Check' and 'Delete' button for each entry. In the meantime, play around with the concepts listed above and have fun creating your own to-do lists. I would love to see them!
Thank you very much for reading, and happy building!
